Above are the things you will need: a writers spiral (or any other notebook that you would like to cover); a print of your picture(s), I used a simple sheet of copy paper with a print of 4 of my best Miksang pictures; glue and washi tape for embellishment.
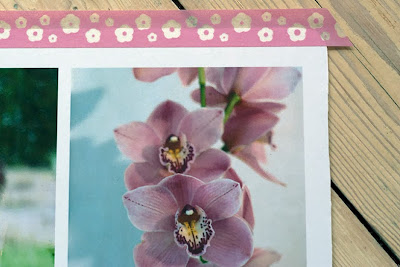
I glued the pictures (they were printed on one sheet of paper) with a glue stick and stuck it on the cover of the notebook. Smooth it out evenly from the middle towards the edges.
This is then how it looks like (above).
For extra strength and also to embellish the book I adhered the washi tape around the edges with an extra layer around the corners.
Et voilà! Your book is now ready. Optional is to bring on an extra layer of mod podge around the edges of the paper overlapping slightly the washi tape. I brought on a layer on the whole front of the cover for a little protection and a silk glossy look.
Extra photo: a Miksang picture of washi tapes. They were sitting there just to be photographed.Enjoy!


No comments:
Post a Comment